Auto-Filling Dates in Google Sheets: A Step-by-Step Guide
Auto-filling dates in Google Sheets streamlines the process of creating timelines, schedules, or any document requiring sequential dates. Depending on your needs, you can add dates manually or use formulas to automatically generate dates.
Auto-filling dates in Google Sheets streamlines the process of creating timelines, schedules, or any document requiring sequential dates. Depending on your needs, you can add dates manually or use formulas to automatically generate dates.
This article provides a concise overview of both the methods -
For the Auto-Fill Method:
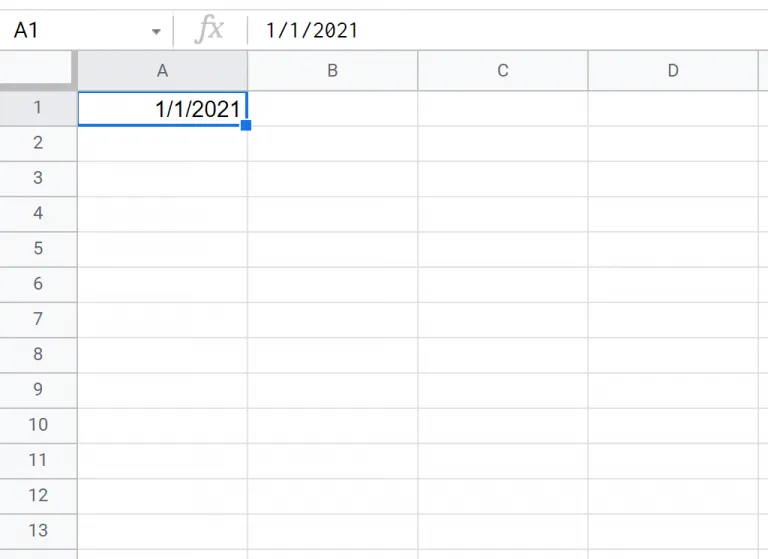
Open Google Sheets and enter a starting date in a cell, for example, 1/1/2021 in cell A1.
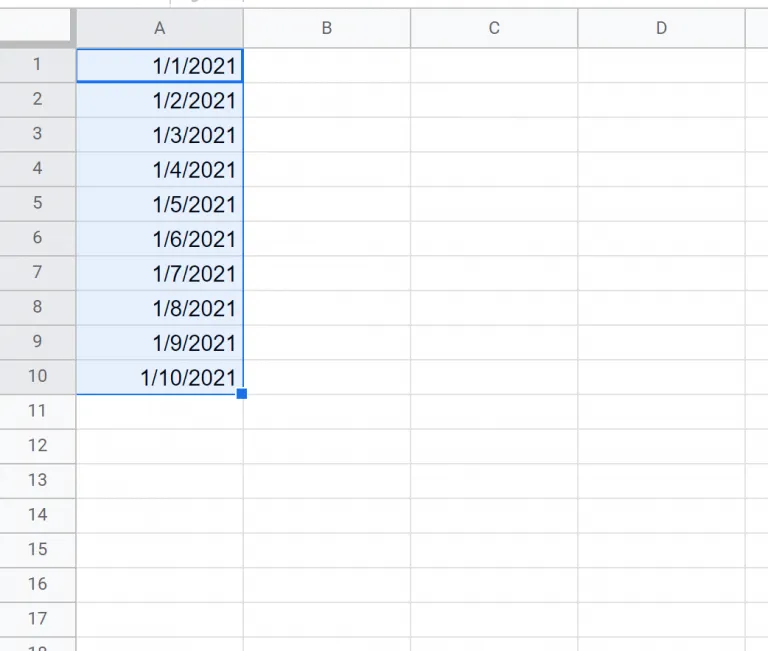
Position your cursor on the bottom-right corner of the cell until it changes to a plus sign (this is the fill handle).
Click and drag the fill handle down or across to fill subsequent cells with consecutive dates. As you drag, Google Sheets will automatically populate the cells with the following dates.
For the Manual Fill Method:
Open Google Sheets and type a starting date into a cell, say 1/1/2024 in cell A1.
Manually enter the next date in the cell below it, or use a formula to make it automatic. For instance, in cell A2, you could type =A1+1.
Copy the formula down the column to continue filling in dates. Click on cell A2, then drag the fill handle down to fill more cells with incrementing dates.
Using Fill Series:
Enter your start date in a cell and a second date that indicates your desired increment (e.g., the next day or next month) in the adjacent cell.
Highlight both cells, then drag the fill handle across or down. Google Sheets will recognize the pattern and fill the series accordingly.
Tips:
Right-clicking the fill handle allows you to choose different series options, including filling weekdays only, monthly dates, and more.