How to Format Dates in Excel a Comprehensive Guide
Understand how to format dates in Excel to present your data clearly. This guide will show you various methods for adjusting date formats, ensuring your spreadsheets are professional and easy to read.
Contents
In this article, we will explore how to format dates in Excel effectively. One of the simplest ways to format dates is by using the date formats list, which contains most of the date formats you may need.
How to Change the Excel Date Format
- Select the Cells to Format: Begin by selecting the cells that contain the dates you want to format.
- Open the Format Cells Dialog: Press Ctrl + 1 (or Command + 1 on a Mac) to open the Format Cells dialog box.
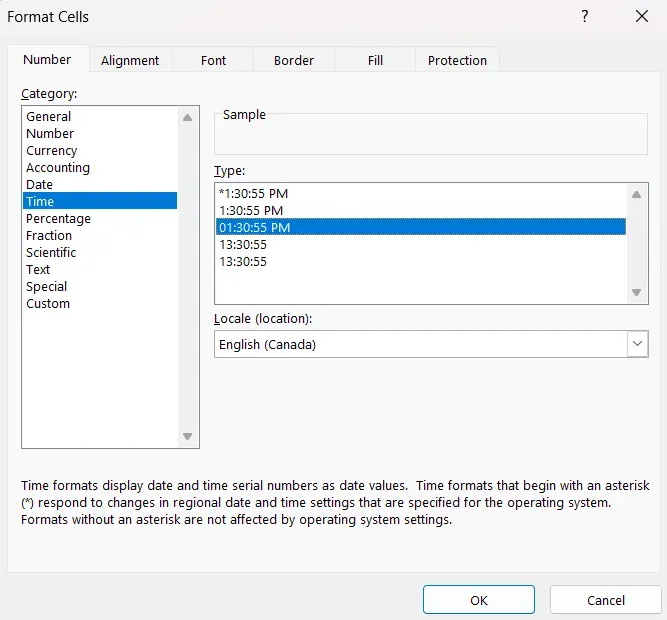
- Choose the Numbers Tab: In the dialog box, navigate to the “Numbers” tab.
- Select the Date Category: From the list of categories, choose “Date.”
- Pick Your Desired Date Format: In the “Type” menu, select the date format that you prefer.
Customizing the Date Format
To create a personalized date format, follow these steps:
- Start with a Base Format: Begin by selecting a date format from the list that's closest to your desired outcome.
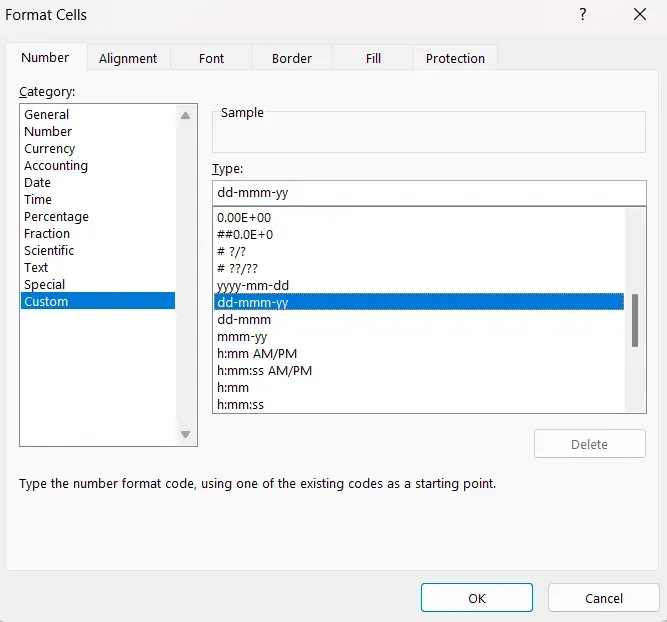
- Access Custom Options: In the "Category" menu of the Format Cells dialog box, select "Custom."
- Modify the Format Code: You'll see the format code for your selected date type in the "Type" box. Any changes you make here will create a new custom format without altering the default options.
- Enter Your Custom Code: In the "Type" box, input the code that represents your desired date format. For example:To display dates as DD/MM/YYYY, enter DD/MM/YYYY in the "Type" box.Apply the Custom Format: After entering your custom format code, click "OK" to apply it to the selected cells.
Converting Date Formats to Different Locales
When working with dates for various regions, you may need to convert them to match a specific locale. Here’s how to do this:
- Select the Appropriate Cells: Highlight the cell or cells containing the dates you want to convert.
- Open the Format Cells Dialog: Press Ctrl + 1 (or Command + 1 on a Mac) to open the Format Cells dialog box.
- Choose the Date Category: In the "Numbers" tab, select "Date" from the list of categories.
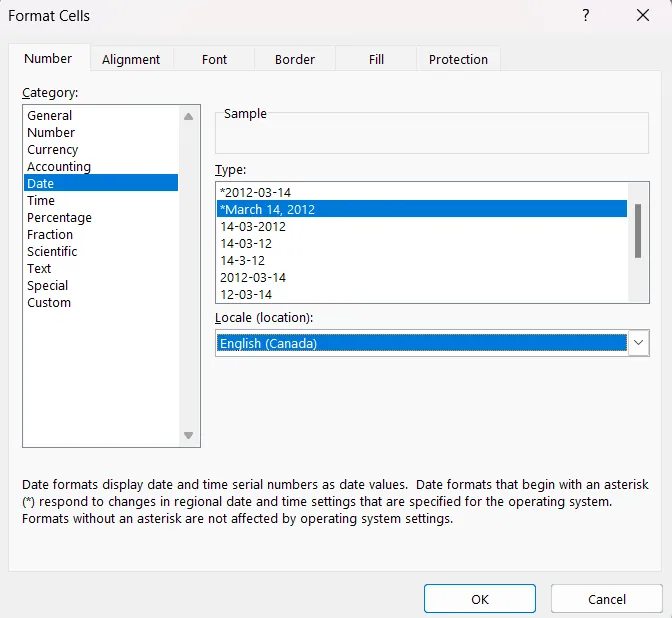
- Access the Locale Options: Below the "Type" menu, you will find a drop-down menu labeled "Locale."
- Select the Desired Locale: Choose the appropriate locale from the drop-down list to format the dates according to that region's standards.
Using these methods, you can effectively format dates in Excel, enhancing your spreadsheets.